
Azure Config
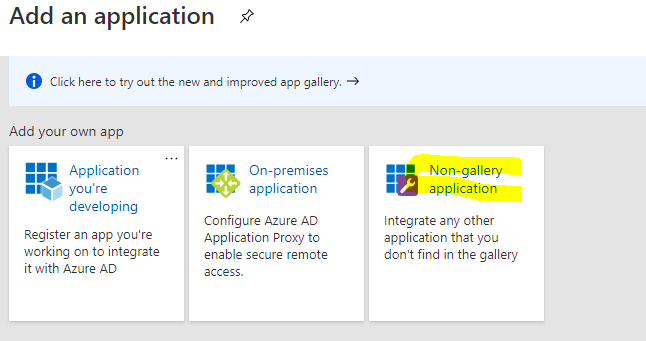
Log in to your Azure portal, go to Active Directory → Enterprise Applications → New Application. Select Non-Gallery Application.
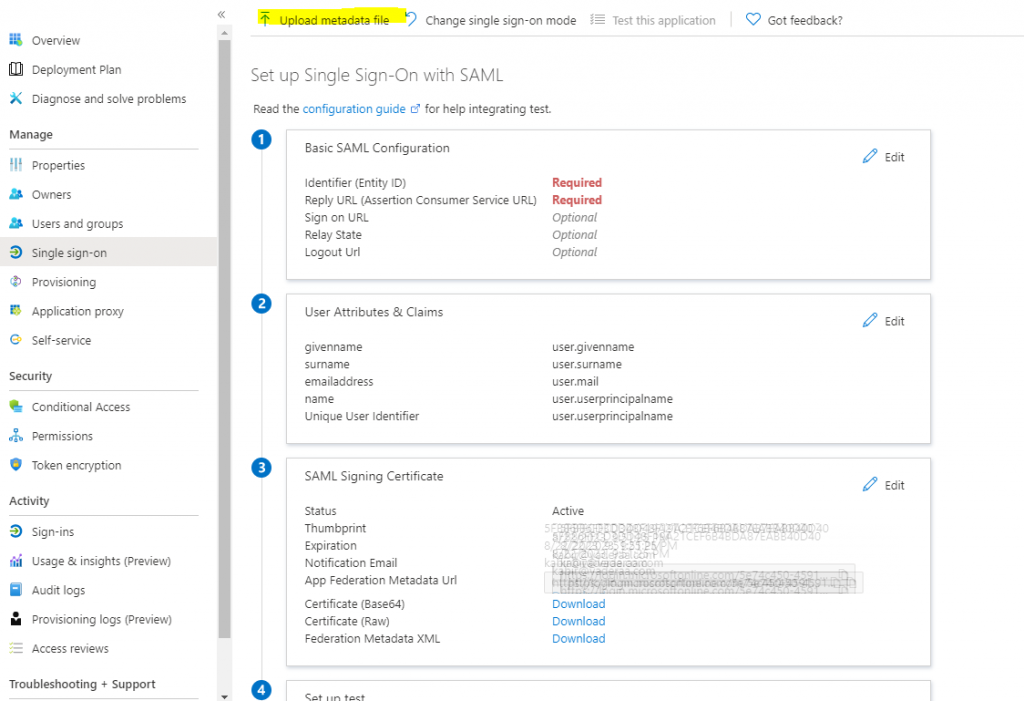
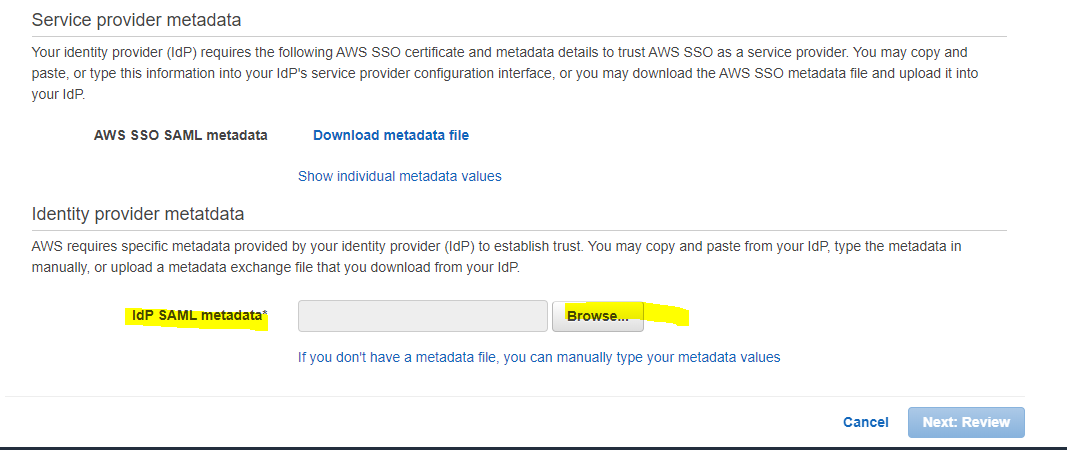
Click Single Sign-on → SAML, then Upload Metadata File (the file from Part 1). Download the Azure Metadata XML and upload it back in AWS.
Provisioning (SCIM)
In AWS SSO, click Enable Automatic Provisioning. Copy the SCIM URL and Token generated.
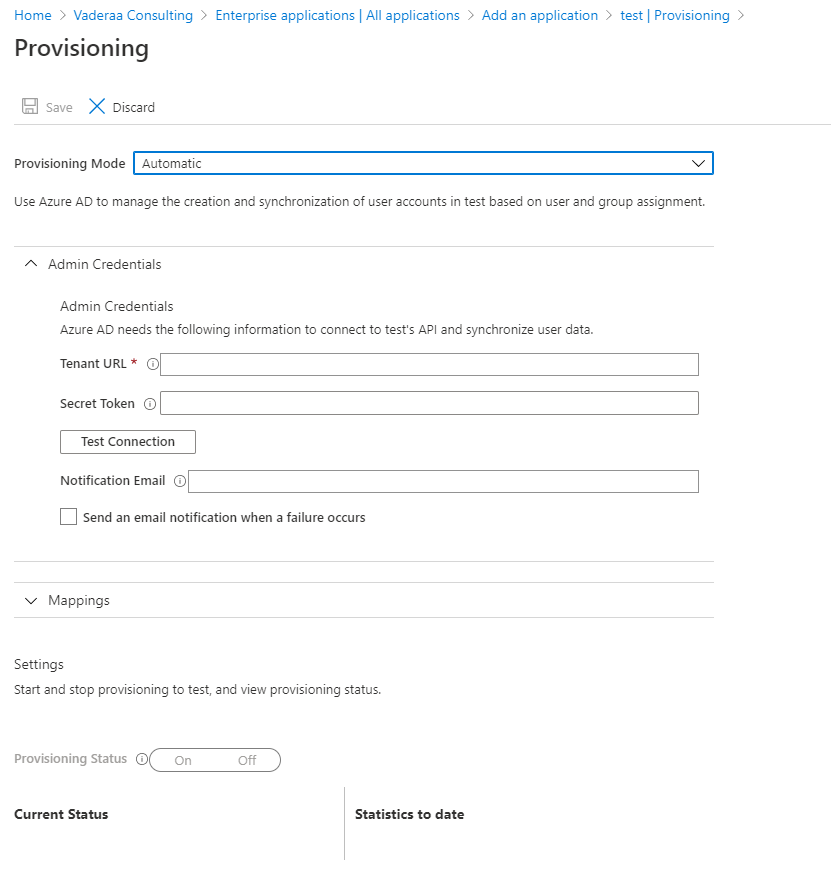
In Azure AD, go to Provisioning → Automatic. Enter the SCIM URL and Token, then click Test Connection.
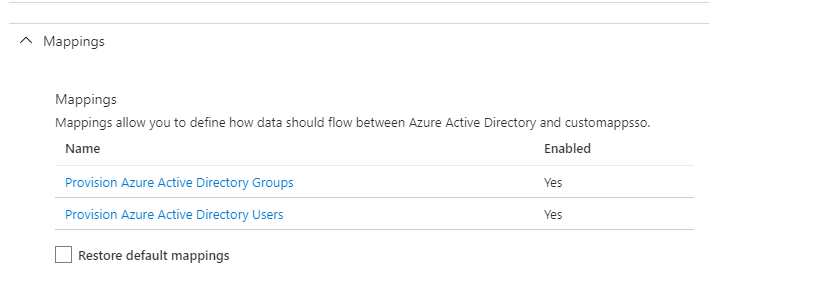
Attribute mapping changes required:
- All users must have First name, Last name, and Display name filled in.
- Delete mappings for facsimileTelephoneNumber and mobile.
- Change mailNickname source attribute from
mailNicknametoobjectId.
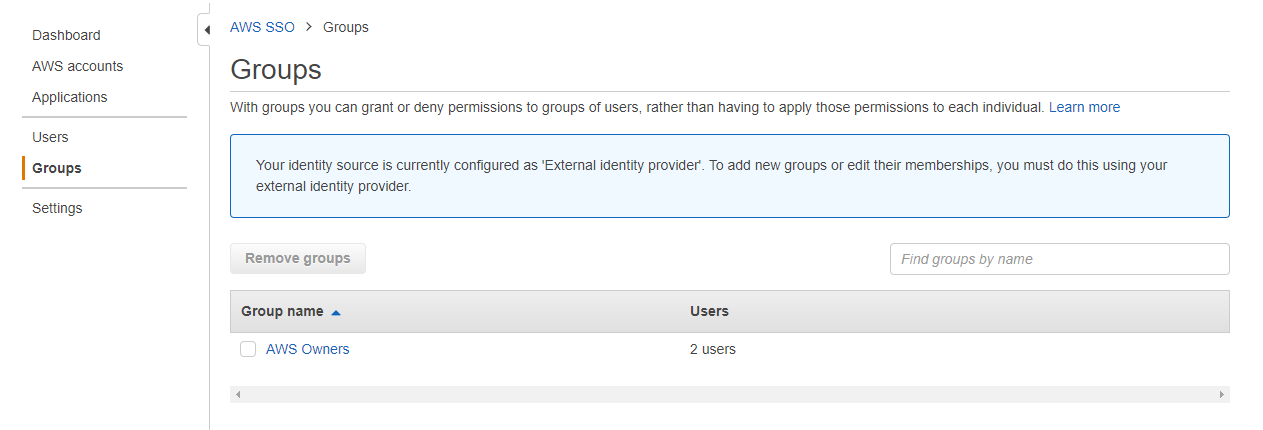
Turn on Provisioning Status and save. Azure AD syncs every 40 minutes.
← Previous
Part 1. AWS-SSO Integrated with Azure AD
Next →
I-SEM Project